
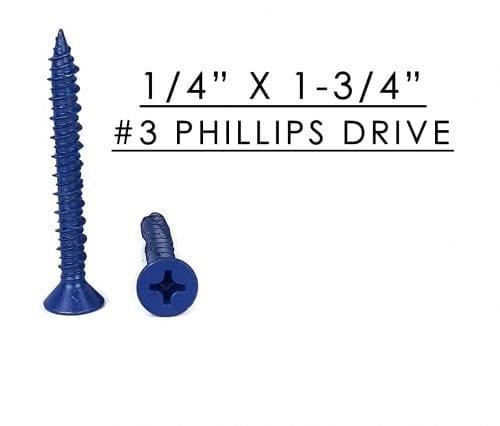
Description
Tapcon Pro Installation Kit ensures a job done right the first time, every time with features such as:
- Compatibility with all drills and drivers makes jobs faster and easier
- Recessed hex drivers reduce over-torqueing and head-snapping, creating less downtime
- Fits fully assembled in convenient storage pouch, reducing the chance of lost parts and eliminating need for disassembly
Get more information from the brochure here.
How to utilize the Pro Install Tool
STEP 1
Place correct Tapcon drill bit in drill adapter and tighten set screw with hex key (included). For rotary hammer begin at Step 3.
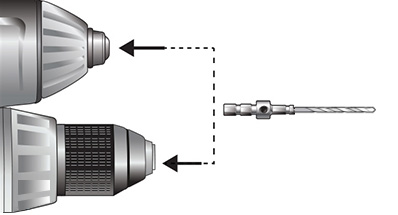
STEP 2
Secure drill adapter into 3/8″ – 1/2″ chuck of hammer drill or into 1/4″ impact hammer.
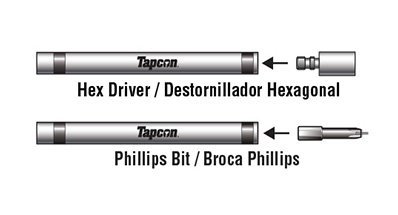
STEP 3
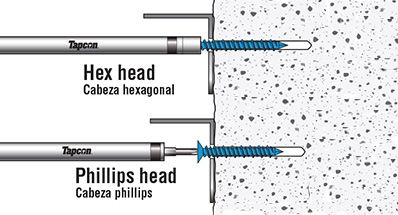
Attach appropriate hex driver or Phillips bit to end of sleeve.
DRILL
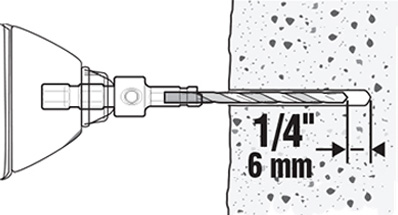
STEP 4
Drill hole 1/4″ deeper than depth of anchor embedment. (Min. embedment 1″). Remove dust from hole.
SLIDE
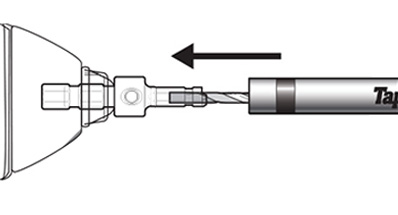
STEP 5
Slide sleeve over drill bit and snap into drill adapter.
DRIVE
STEP 6
Insert anchor into the end of the sleeve, position fixture to be fastened and drive the Tapcon.
Reviews
There are no reviews yet.